How to add photos to your invite
Put a photo anywhere on your invite with the Photo block, with a caption underneath if you like.
The Photo block puts a picture in the flow of your invite, like last year’s party, the venue’s front door or the birthday kid. Your theme frames it to match the rest of the page.
-
In the editor, tap a + where you want it and pick Photo, then tap the pencil on the new block to open it. See how to add and move blocks if you’re new to blocks.
-
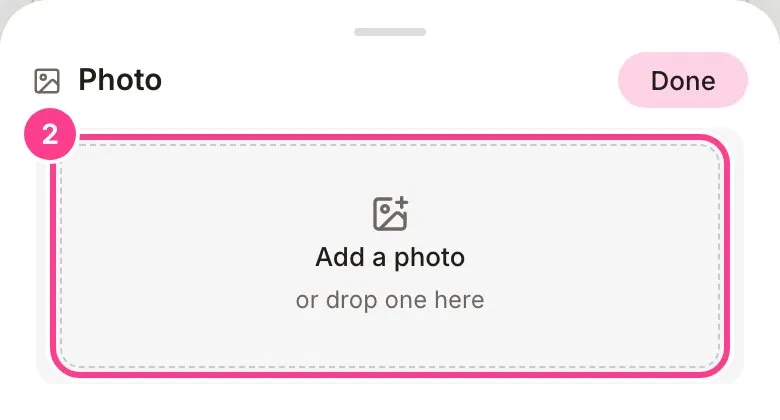
Tap Add a photo and pick a picture from your phone or computer. On a computer you can drag one straight onto the box.
-
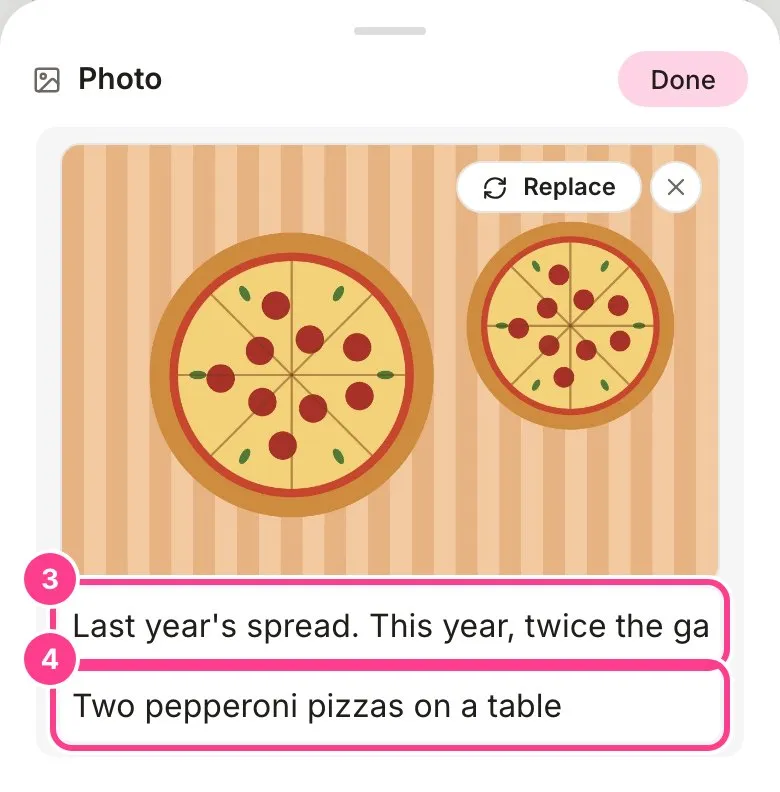
Add a caption to show under the photo if you like.
-
Describe what’s in the photo in a few words. Guests who use a screen reader hear this instead of seeing the picture. Tap Done.
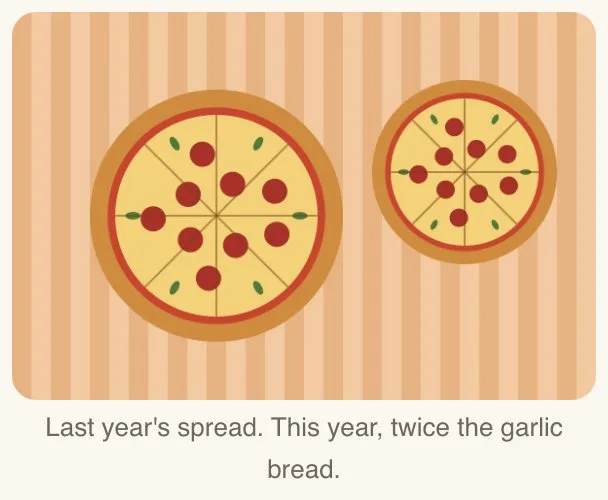
Here’s how it looks to guests.
Good to know
- Photos can be JPEG, PNG, WebP or GIF, up to 12 MB each.
- To swap the picture, open the block and tap Replace. The cross beside it removes the photo.
- A Photo block with no picture doesn’t show on the invite.
- On a computer, you can also drop a picture onto an existing Photo block right on the page.
- Want a photo across the top of the invite instead? See how to add a cover and logo.
Didn't answer it?
Tell us what you were trying to do and we'll write back, or give our guide to your AI assistant and ask it.