How to add a cover and a logo
Give your invite an opening band in a colour, gradient, pattern or photo, with your logo in the middle.
The cover is the band across the top of your invite, the first thing guests see. It can be a plain colour, a gradient, a pattern or a photo, with your logo sitting in the middle and the event name on it if you like.
-
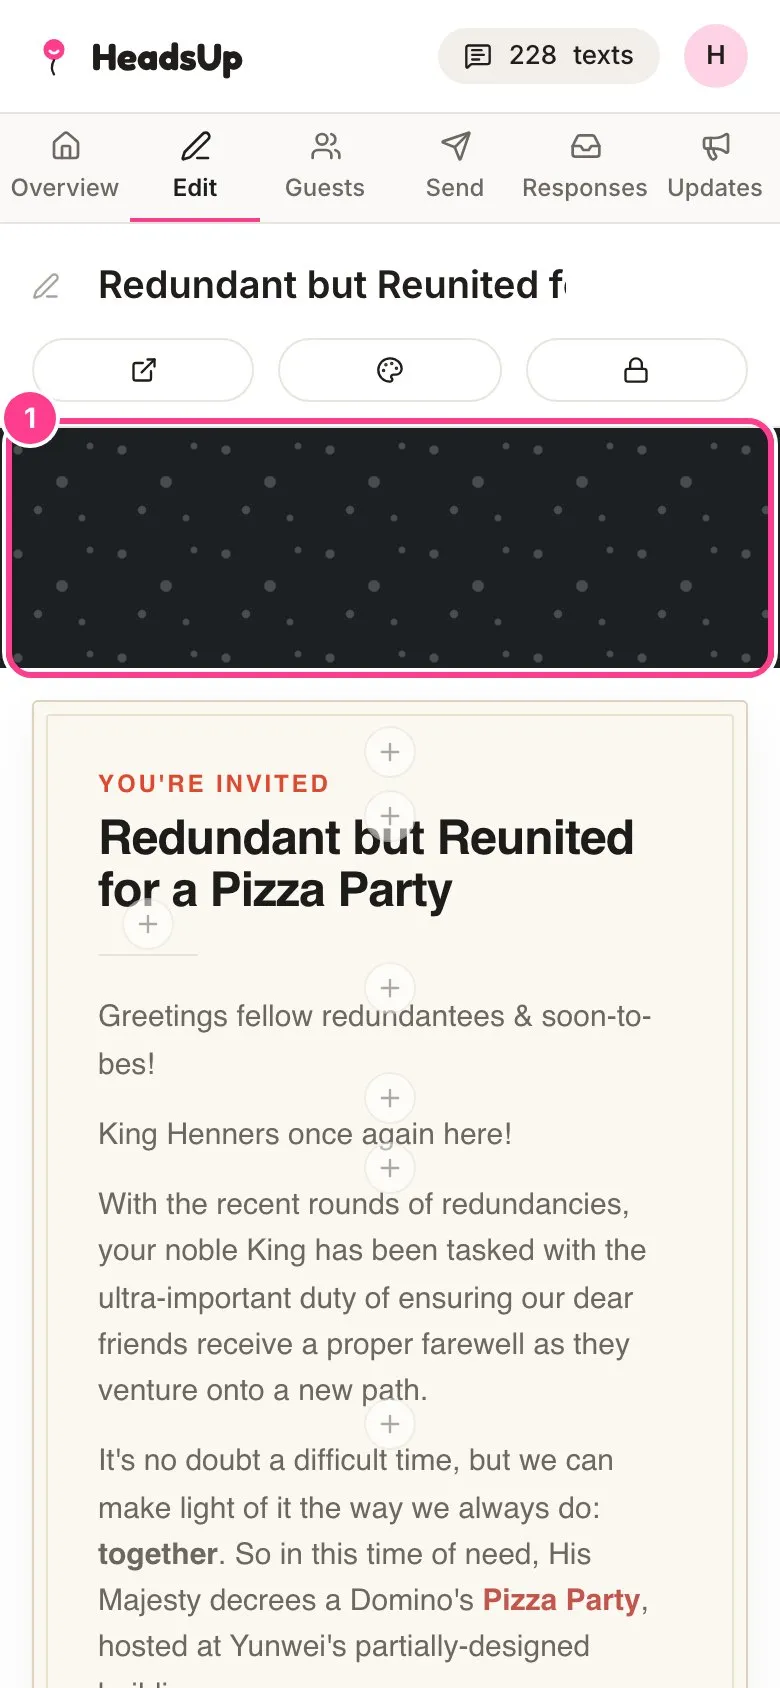
In the editor, tap the cover band at the top of the invite. No cover yet? Tap Add a cover where it would be.
-
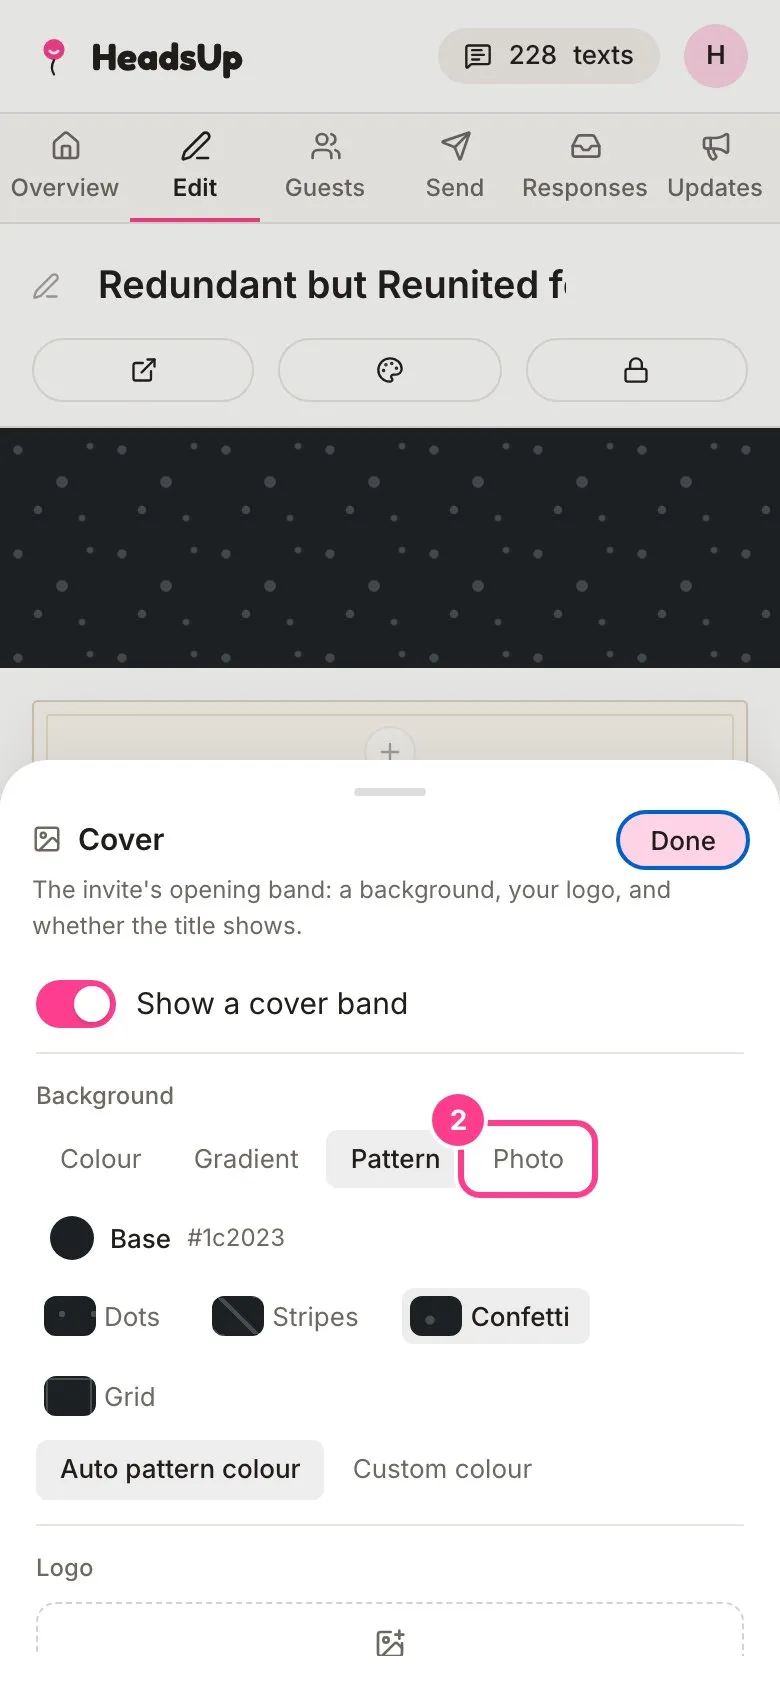
In the Cover panel, make sure Show a cover band is on. Under Background, pick Colour, Gradient, Pattern or Photo and set it up. The invite behind the panel changes as you go.
-
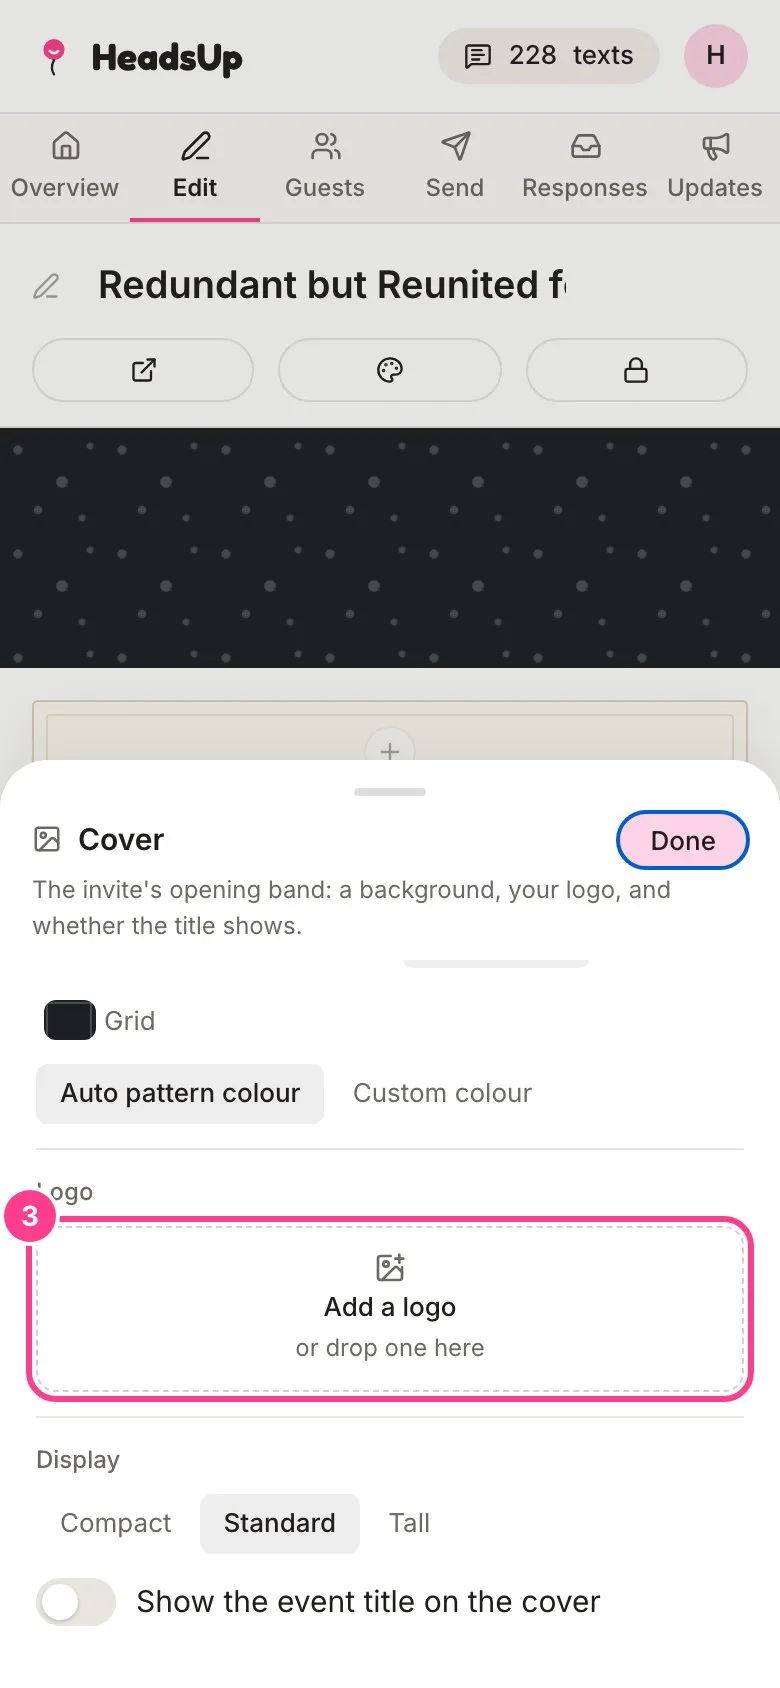
Under Logo, tap Add a logo and choose an image. Under Display, pick a height of Compact, Standard or Tall, and turn on Show the event title on the cover if you want the name on the band. Tap Done.
Good to know
- A wide photo works best, because it fills the band edge to edge. After adding one, tap Reposition the photo and drag it up or down to choose which part shows.
- Turn on Dim the photo so text stays readable if the title is hard to read over a busy photo.
- On a computer you can drag a picture straight from your desktop onto the cover band.
- Images can be up to 12 MB.
- To take the cover off, turn Show a cover band off.
- On Plus and up, your cover is also what shows when your link is shared in a chat. See setting the link preview.
Didn't answer it?
Tell us what you were trying to do and we'll write back, or give our guide to your AI assistant and ask it.